I don’t know why, but for a while now I’ve been strangely attracted to Mason jars. Not for canning purposes, mind you, but for pretty much every other purpose imaginable. I’ve used Mason jars for water glasses, I’ve used them for flower vases, heck, I’m even typing this post from my desk where I utilize a blue Mason jar to organize various writing utensils. And while I definitely wouldn’t qualify as Pinterest-level Mason jar obsessed[1], there’s simply something about the translucent glass, subtle pattern, and versatile design that speaks to me in mysterious ways and leaves me feeling—for no explicable reason—just like a Pokémon card aficionado: I “gotta catch ‘em all.”
While I only own about half a dozen Mason jars, they run the gamut in terms of style, shape, and size. In fact, when it comes to Mason jars, I like:
Big jars, itty bitty jars,
Mississippi jars, rare antique jars
I like the pretty jars with the blue glass
Give a good scrub, let it air dry[2].
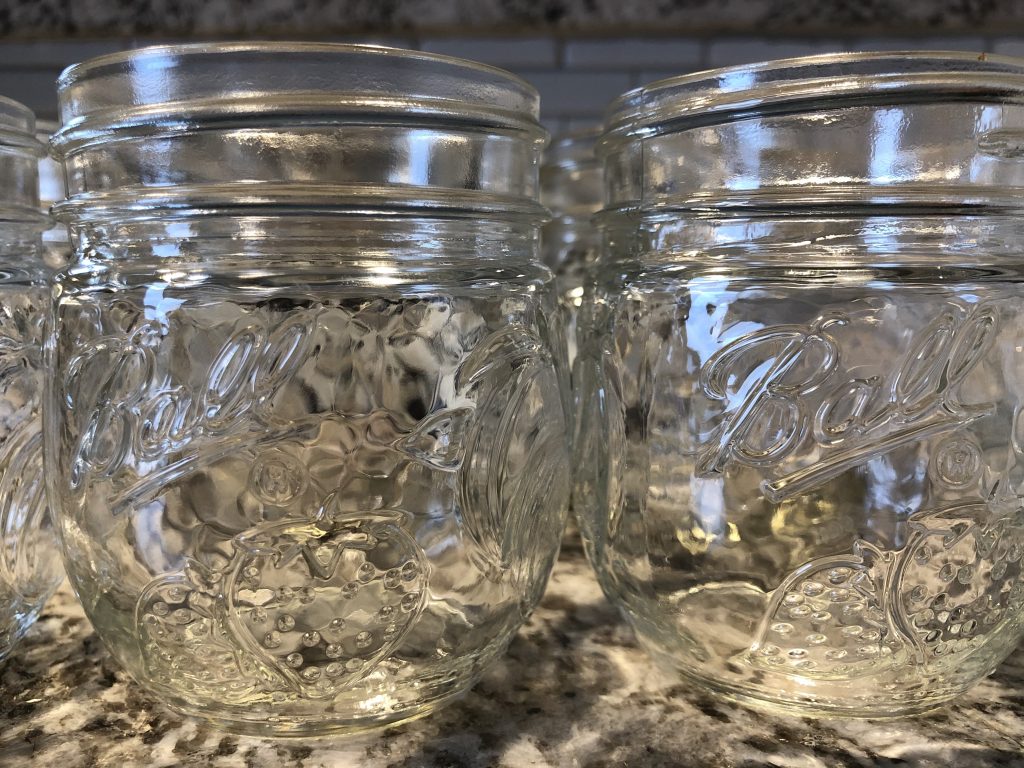
Guys, I’m serious. In full transparency I have small clear jars, large light blue jars, and even a few Notre Dame jars[3]. And while I don’t use these jars on a regular basis[4], they rest in the upper cabinets I can only reach standing on a kitchen chair, patiently waiting for the day they will be used, sitting available just in case…
Well, ladies and gentlemen, that “just in case” day has arrived. It’s about time I used these Mason jars for their original purpose: Canning. Living in the midst of a pandemic opens up a whole slew of new possibilities, so why not jump in head first and fully embrace the opportunity of the moment. Let’s get crafty: For if not now, then when?
For centuries canning has functioned as a relatively quick, easy method of preserving food. By sealing sustenance in an airtight container, canning gives food a new shelf life ranging anywhere from one to five years. This culinary practice originated in France and dates back to the Napoleonic Wars when the French government offered a sizable reward to any inventor who could devise a cheap and effective way to preserve large quantities of food. Nicholas Appert, a French confectioner and brewer, rose to the challenge, and in 1809 he realized food that is cooked inside a jar does not spoil unless the seal leaks. Shortly after having this epiphany, he devised a method for sealing food in glass jars and was rightfully awarded his prize.
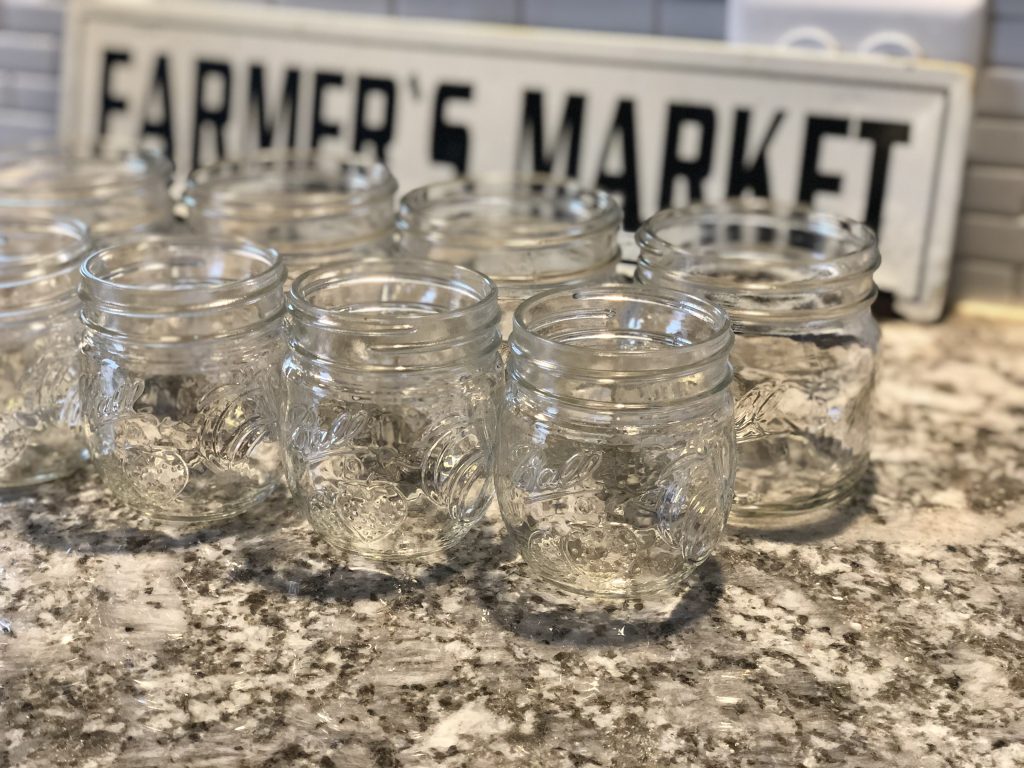
It wasn’t long before amateur cooks everywhere longed for a similarly simple, hassle-free way to replicate this process from the comfort of their own homes. As a result, less than 50 years later John Landis Mason patented the Mason jar in 1858 as a molded glass vessel used to preserve food in home canning endeavors. Building off Appert’s design that initially used wax sealers to secure edible contents, Mason developed a jar mouth with a screw thread on its outer perimeter that could connect with a metal ring or band. This band, when screwed down, presses a separate disc-shaped lid against the jar’s rim, and a rubber ring on the underside of the lid subsequently creates a seemingly magical hermetic seal that keeps food fresher longer.
From jams to jellies to fresh pie preserves, canning with Mason jars creates a wide breadth of possibilities for the creative home canner gone wild. And while the opportunities are nearly limitless, I decided I would test my canning prowess by starting with a beloved classic: Pickles.
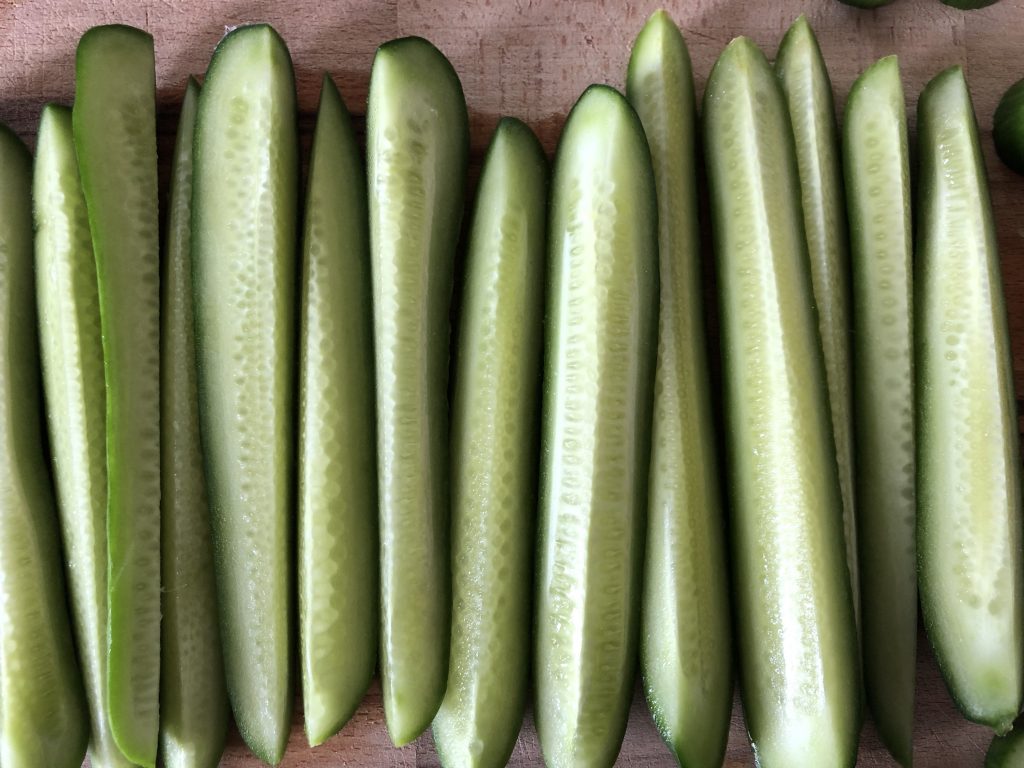
The art of pickling is both an ancient and international food-preservation technique. For thousands of years humans have explored creative ways to pickle foods in an effort to safeguard surplus supplies for long winters and potential famines. And while pickling certainly preserves foods, the process also ultimately alters taste and texture in curiously scientific—and downright delicious—ways.
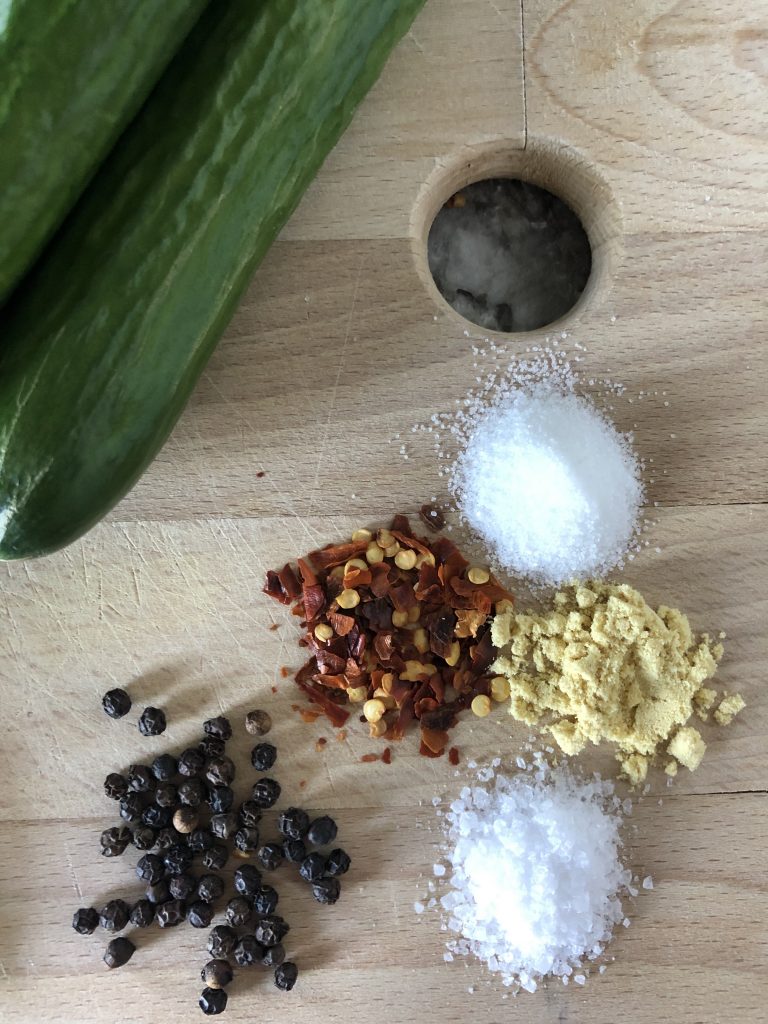
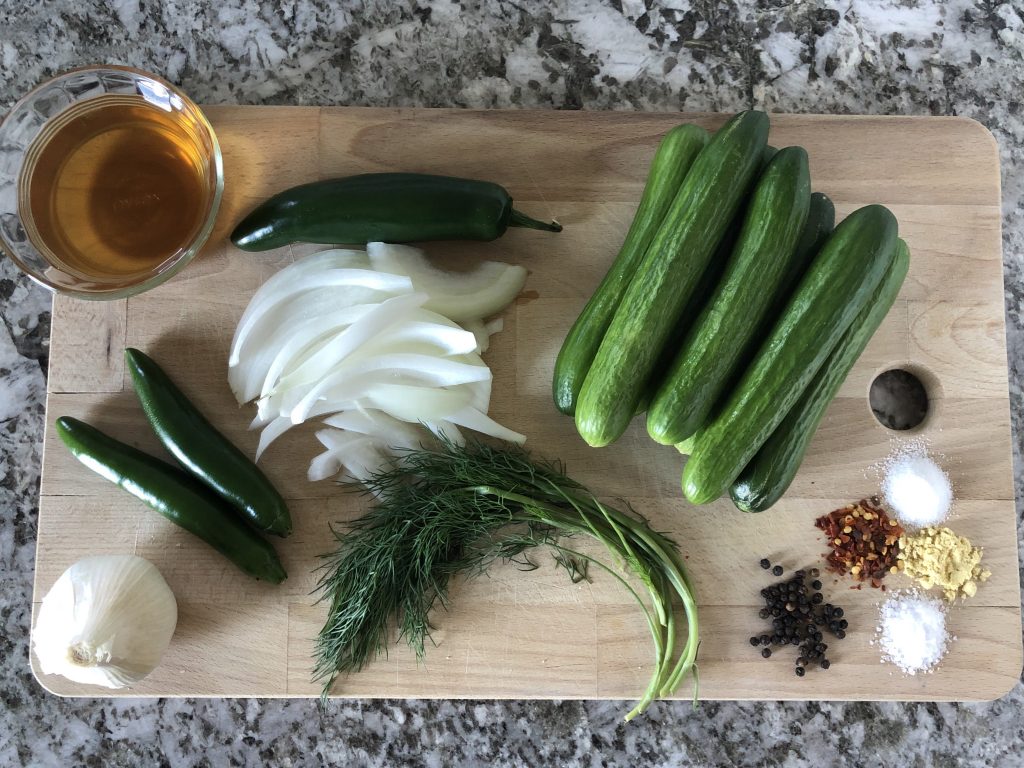
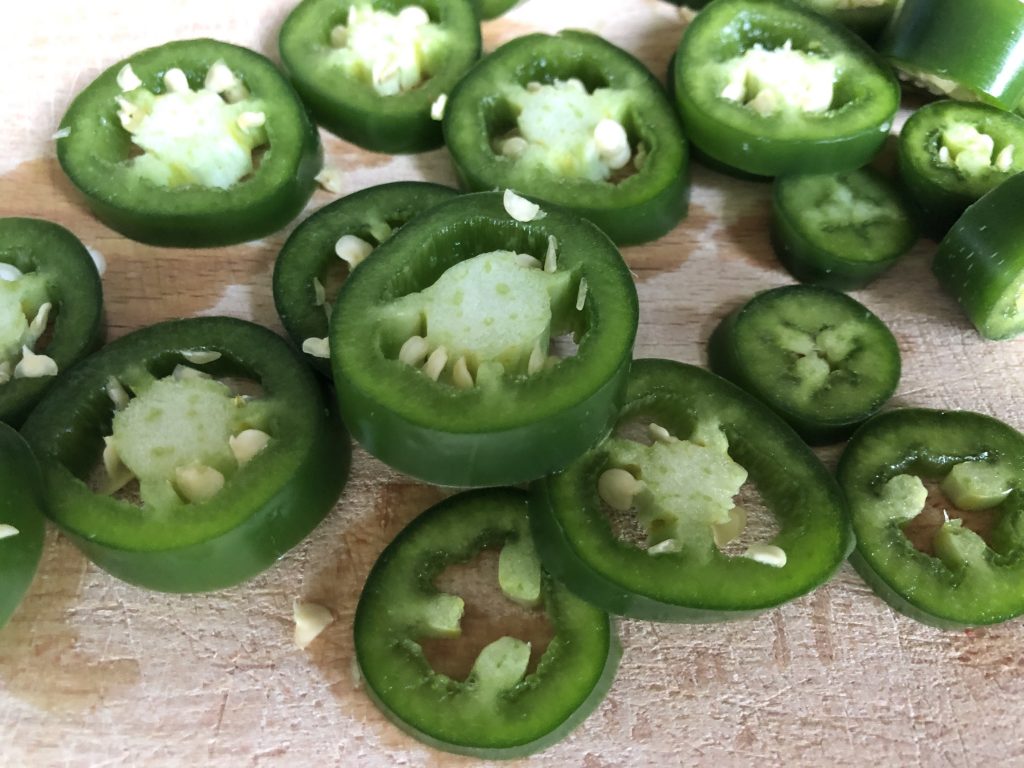
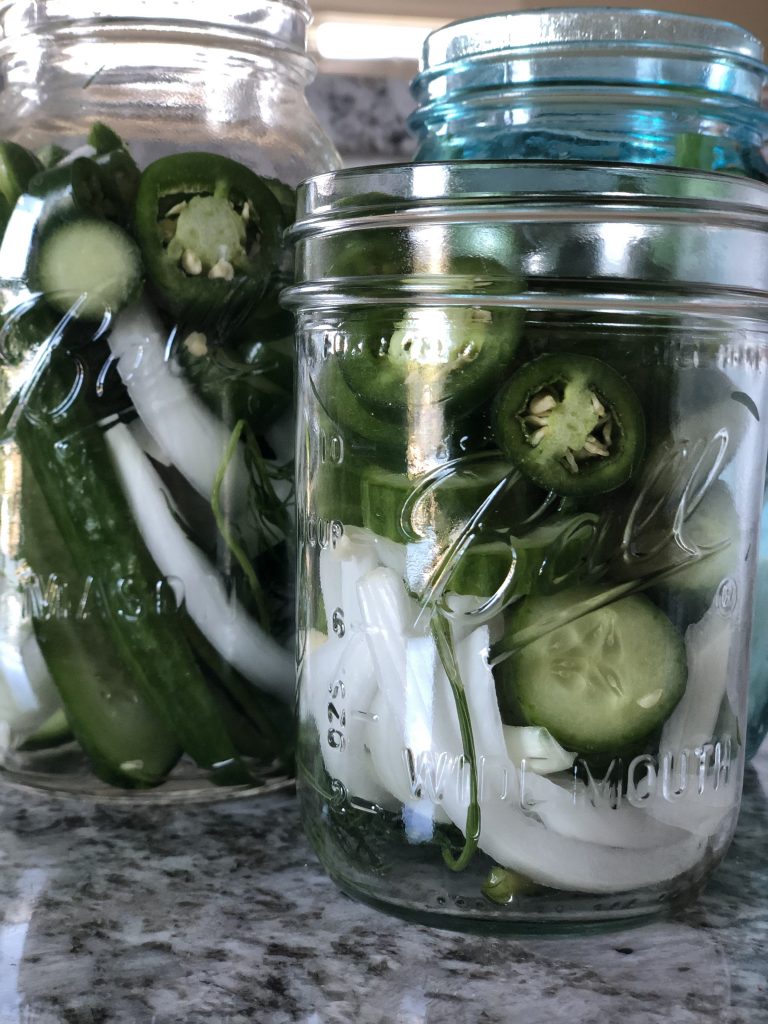
I can’t say I’d thought much about pickling—and what all it involves—up until this point, but it’s actually a surprisingly easy process. Basically, pickling consists of three parts: Chopping your vegetables, adding them to your Mason jars, and then soaking them in the brine. I sliced up a fresh bag of mini cucumbers, 1 yellow onion, 1 jalapeño, 2 serrano peppers, several sprigs of fresh dill, and 4 cloves of crushed garlic, distributing the contents equitably amongst four beautiful Mason jars.
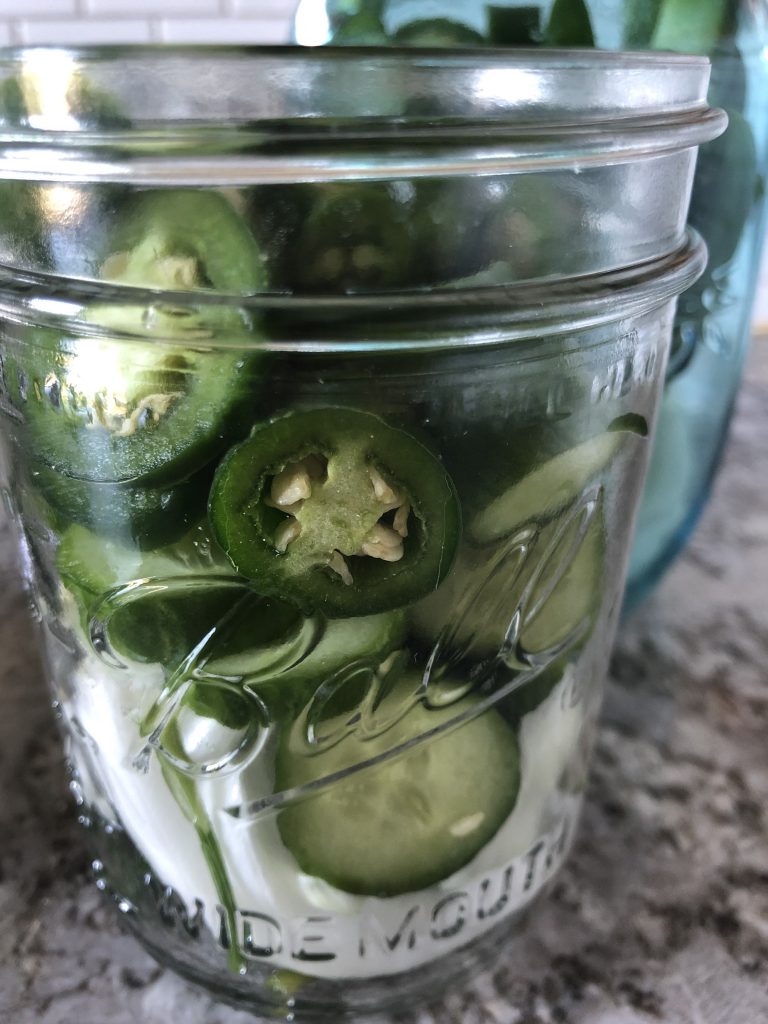
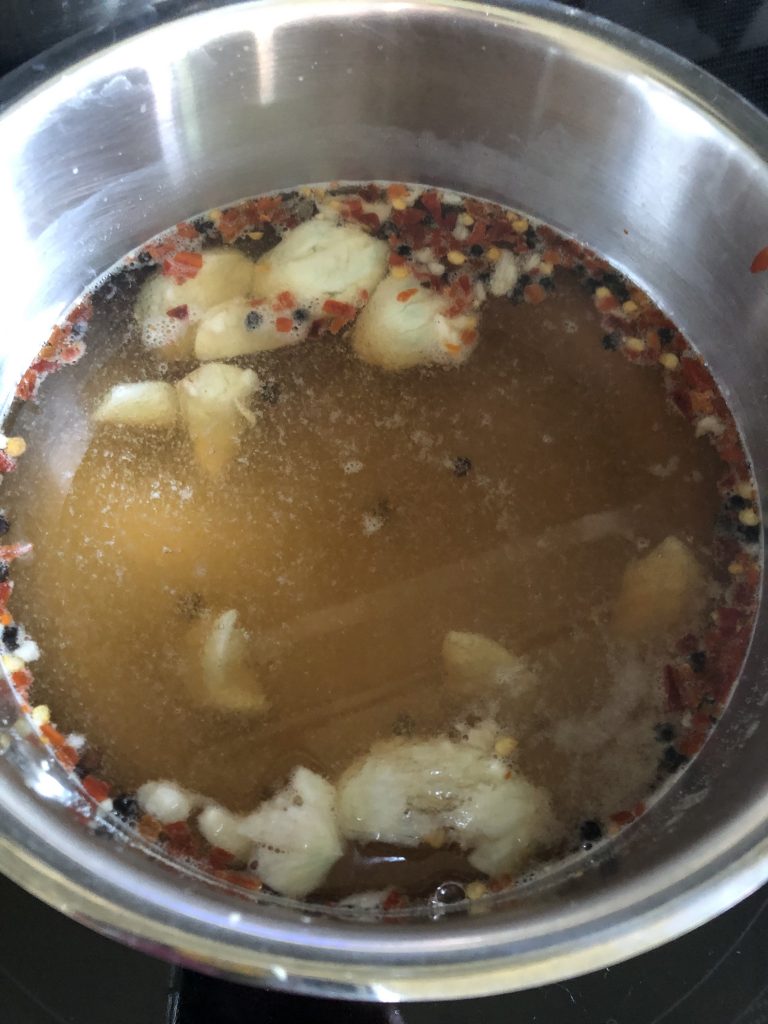
From there, I mixed up the brine, which consisted of 1 cup apple cider vinegar, 1 cup water, 3 teaspoons koshers salt, ½ teaspoon granulated sugar, ½ teaspoon whole black peppercorn, and several shakes of crushed red pepper flakes. I let the contents reach a soft boil before reducing heat to a simmer for about 10 minutes or so. Then, once the brine had sufficient time to cool, I distributed it equally across the four Mason jars, dousing the fresh garden ingredients until they were swimming in acidy goodness.
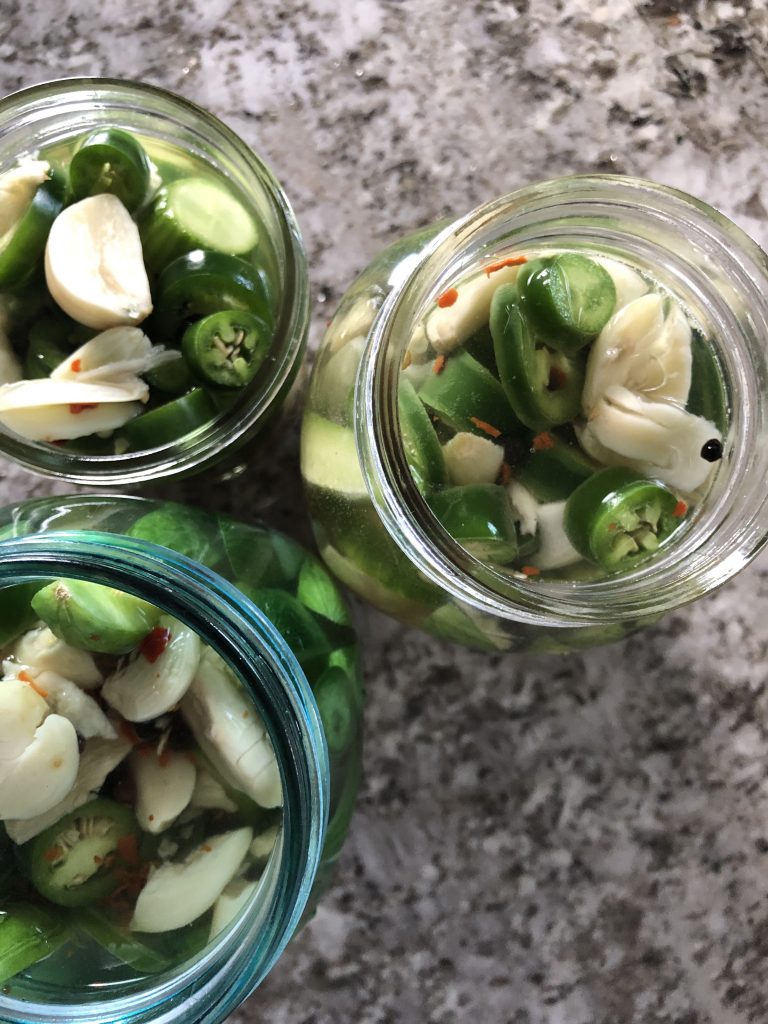
Then, I sealed off the Mason jars, loaded them up into the fridge, and let them marinate for about 48 hours before taking them back out for a preliminary sample. And man, were those pickles good! I don’t know if it was the acidity, the zesty hot spice, or the satisfaction of having successfully pickled my first pickles, but taking that initial bite prompted my lips to pucker and my tastebuds to dance in all sorts of fun ways.
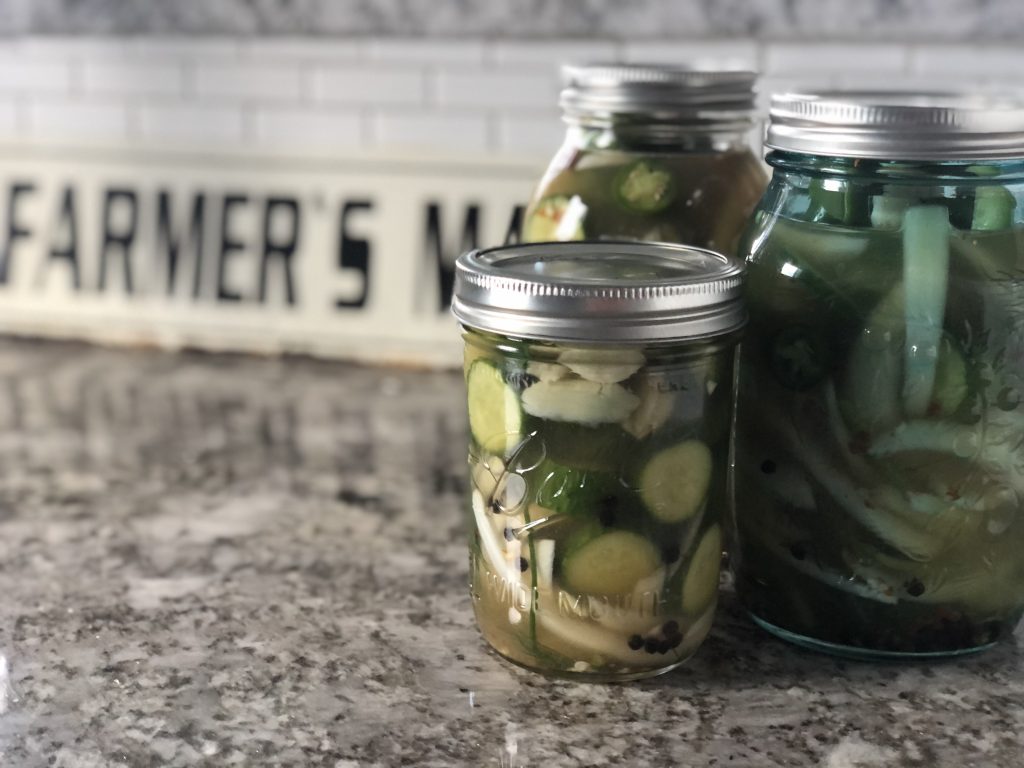
Inspired by the success of this first canning adventure, I was eager to try my hand at another, very different sort of Mason jar experience. The only difference was this time, I’d throw alcohol into the mix.
Ever since my parents visited Italy several years ago, they’ve been fascinated with Limoncello. An Italian liqueur popularly produced in Southern Italy, Limoncello is traditionally served chilled as an after-dinner digestivo. The drink heralds a flavor profile that is simultaneously sweet, tart, and biting[5], and it is intensely delicious when savored in small quantities. Ever the DIYer, my mom, Mary Lou, decided to try her hand at making her very own homemade Limoncello, and it didn’t take long before “Lou’s Limoncello” was born. After several experimental batches Mom has perfected her recipe, and the intensely yellow homemade liqueur has since become an iconic staple at Puszka gatherings hosted year-round.
Determined to craft my own Limoncello, I followed Mom’s instructions to yield a decadent result. The recipe is both deceptively simple and wildly imprecise: Basically, zest a crap-ton of lemons (give or take a dozen) into a Tupperware container, pour a whole handle of grain alcohol over the zest (hello, Everclear), close the lid to the container, swish it briefly so the flavors start to mix, and then put your lovely concoction aside for approximately six to eight weeks[6].
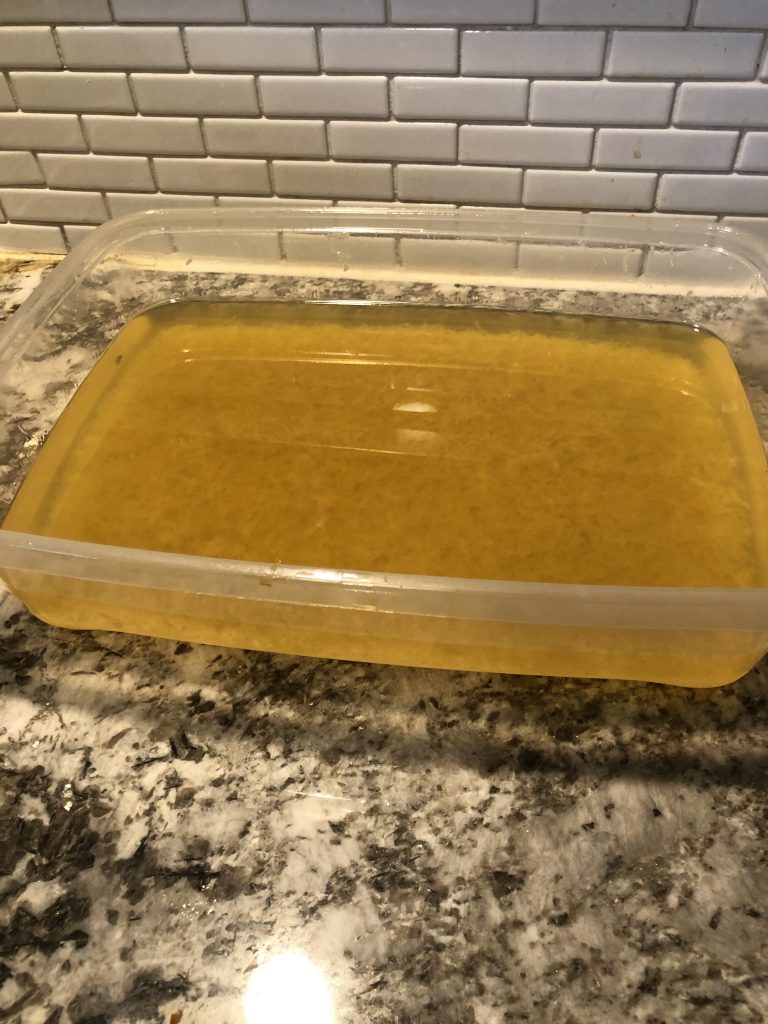
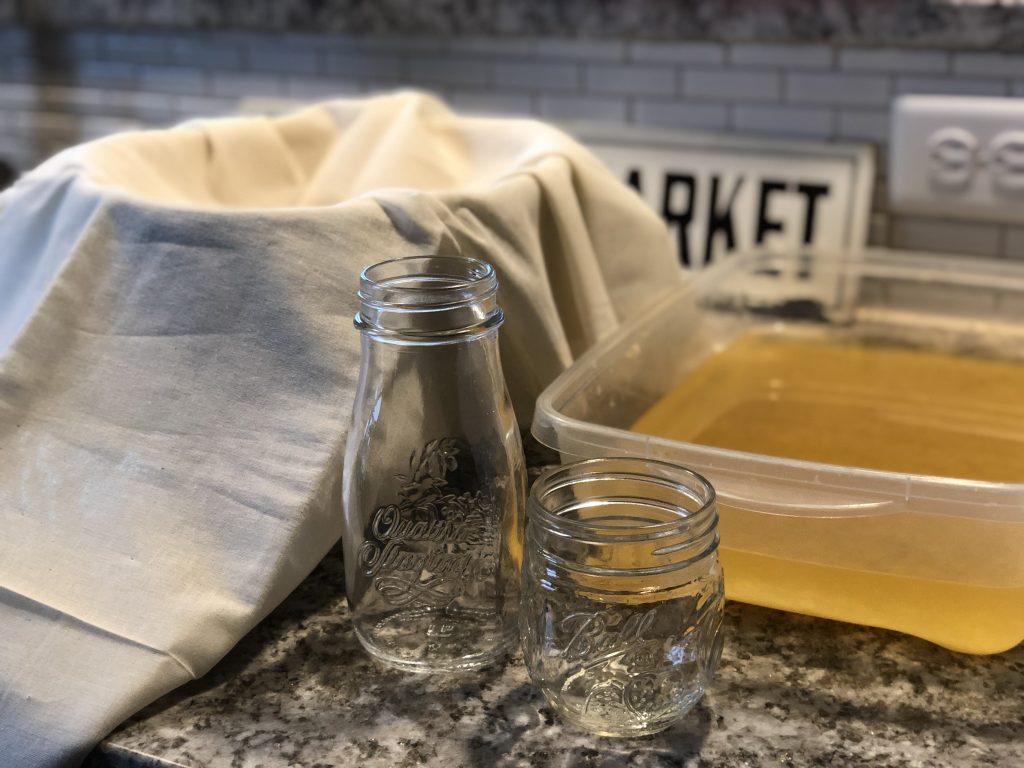
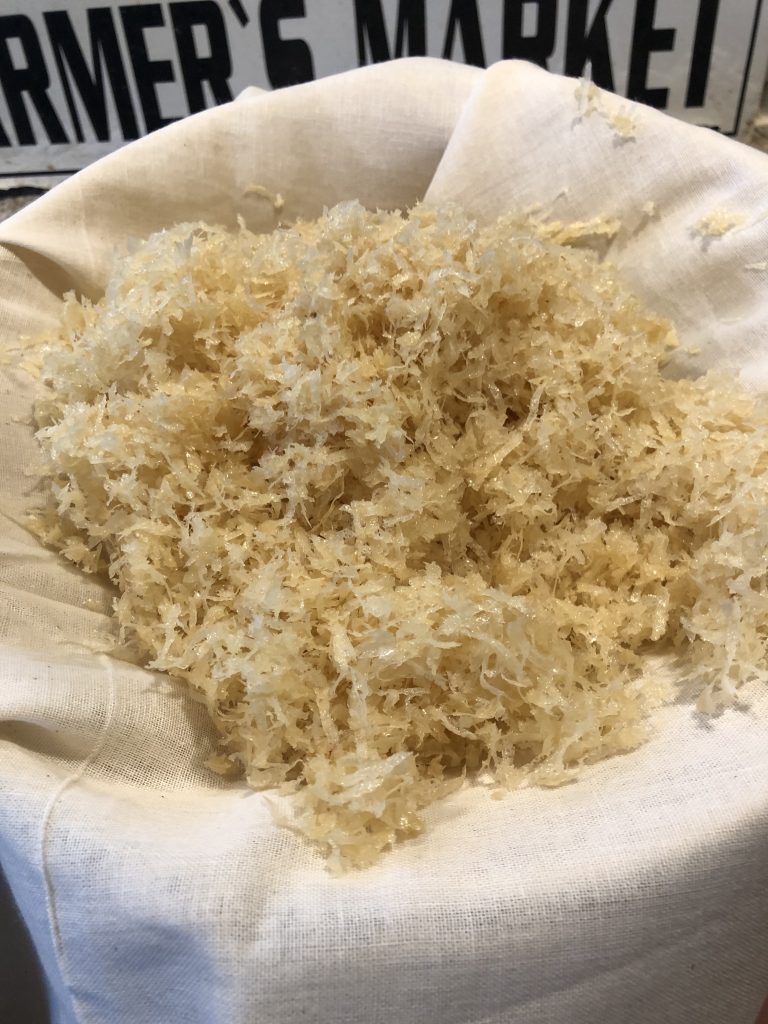
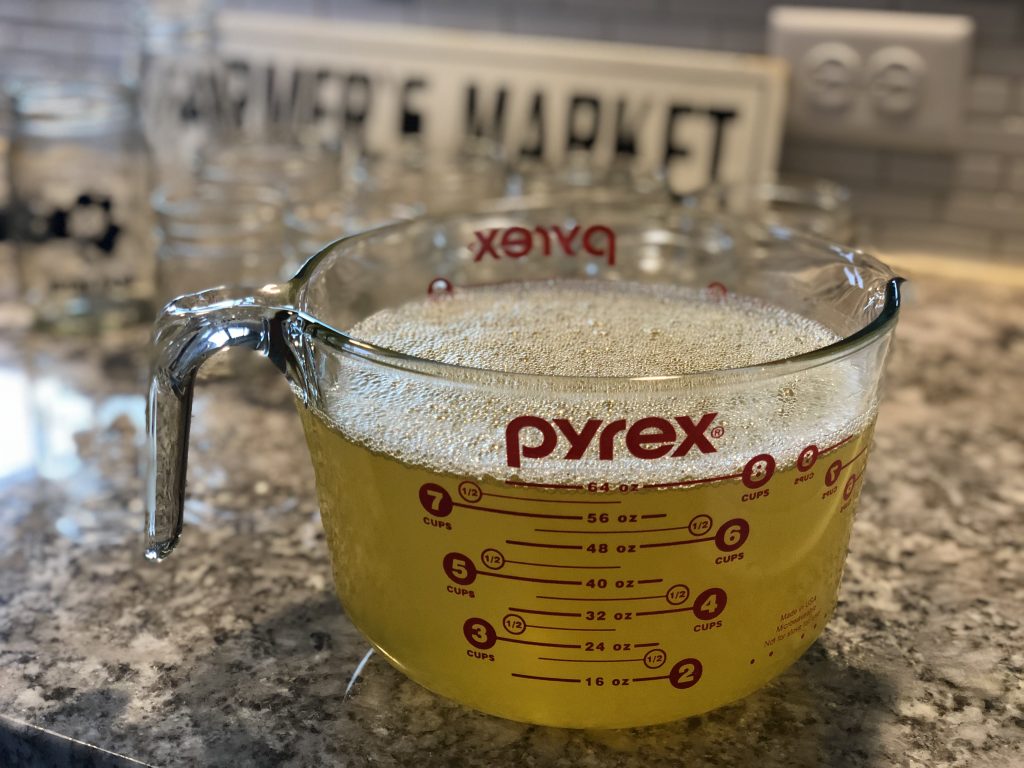
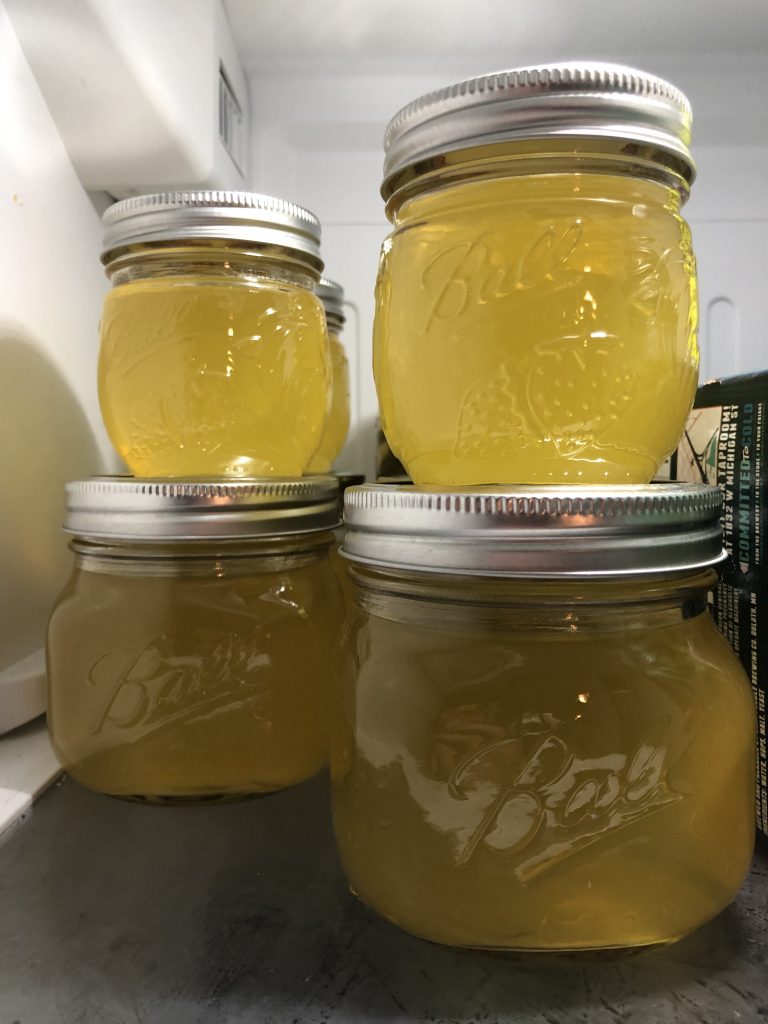
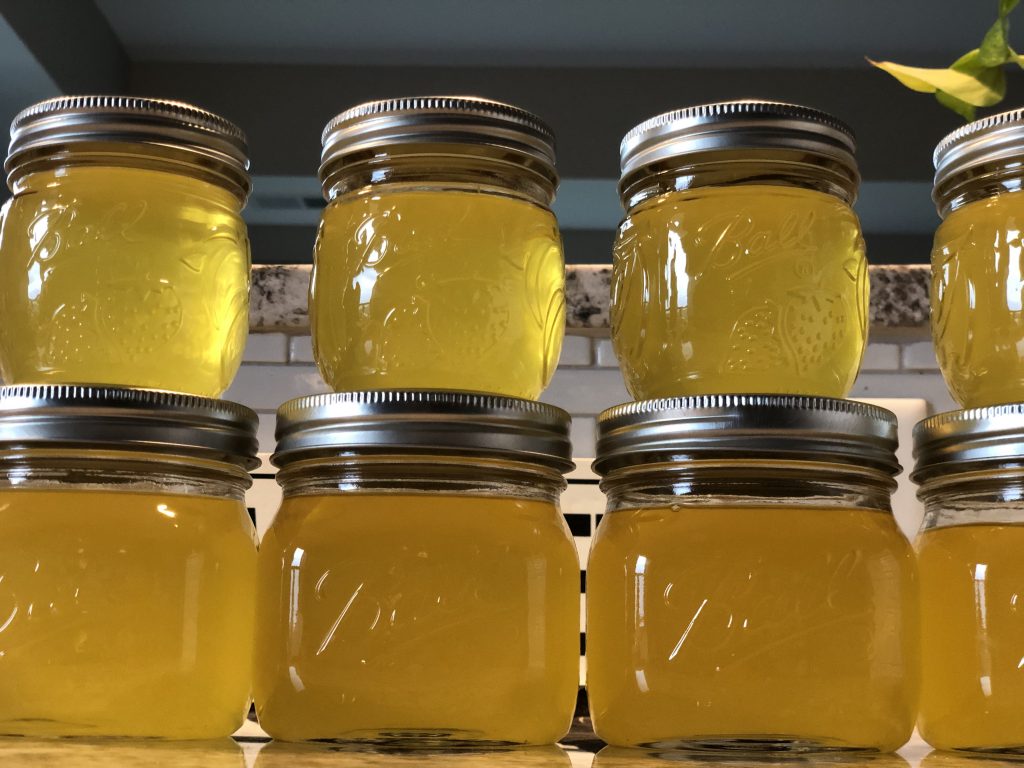
After the mixture has properly fermented[7], it’s time to strain, sweeten, and can your Limoncello. Start by straining your alcohol using a cheesecloth to make sure none of the zest makes its way into the bowl. Then, whip up some simple syrup (equal parts sugar and water), let it cool, and combine the sugary mixture with your pee-colored alcohol little by little until the consistency is just right[8]. Once you’ve hit the mark, carefully bottle your creation[9], migrate it to the fridge, and let it chill for approximately 48 hours. When the Limoncello has sufficiently cooled, remove it from the fridge, give it a quick shake, pour it into a shot glass, raise your hand to say saluti, and enjoy the literal fruits of your labor! Pro tip: I find sharing with friends only enhances the drink’s already brilliant flavor.
From the verdant green of my freshly pickled pickles to the luminescent yellow of my Limoncello, I’ve learned quite a bit from my “green yellow” canning escapades and am eager to improve as I get more practice under my belt. The process is magical, really: I love the idea of curating some kickass ingredients, putting in the initial grunt work, taking a step back for a while, and then later returning to discover something new, other, and wholly evolved from what you originally started with. There’s something to be said for this subtle simplicity, for the quiet, unassuming way in which something so ordinary can ultimately transform into something beautiful and rich that perhaps you never thought was possible.
We could all use to learn something from this approach: If we gather the right “ingredients,” put in the hard work, embrace time, and exercise patience, our efforts will most certainly pay off and ultimately metamorphosize into something better than we could have ever imagined.
I can raise a glass to that.
Saluti!
[1] You know what I’m talking about: Those people are crazy! In fact, a quick Google search unearths dozens, even hundreds of ways to utilize these ubiquitous glass storage containers. Need a new twine dispenser? A chalk paint planter? A stained-glass decorative thingy? Never fear: There’s a Mason jar for that! Don’t actually need any of these things? Don’t worry: There’s still a Mason jar for that!
[2] Yes, I just put my affinity for Mason jars to the tune of Lizzo’s hit song “Boys.” And yes, I’m realizing I may actually have a problem. Truth hurts. Sigh.
[3] I know what you’re thinking: “Katie, you mean to tell me you really have a Notre Dame branded mason jar? Really?” And to that I reply: “Oh, but of course! In fact, I have two!”
[4] Because who actually does that?
[5] Ooof! That would be the grain alcohol you’re tasting!
[6]I recommend giving it a good shake every now and then. Otherwise, you can just let that baby sit and do its thing!
[7] Admittedly, not the correct terminology, but I’m using it anyway…
[8] Read: Not too sweet that your teeth rot but also not too alcoholic that your tongue falls out; rather, you should aim for somewhere in between.
[9] Enter an impressive, recently purchased assortment of Mason jars: Woot!


Comments are closed.